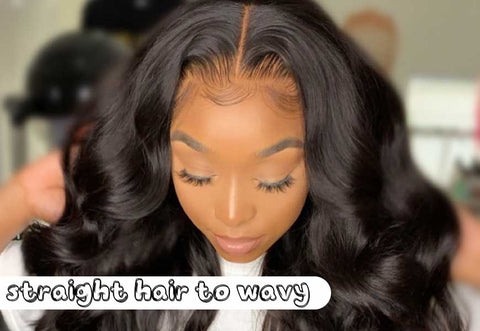
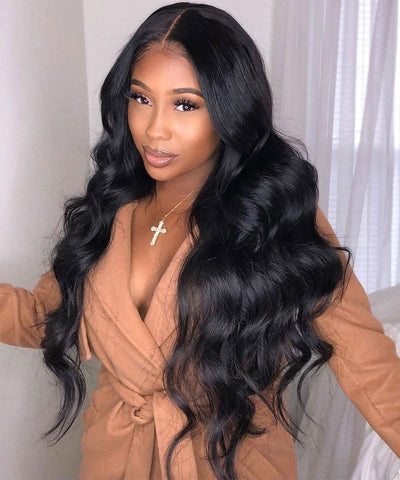
Natural-looking waves are very stylish and make ladies stand out. Achieving this look can be done in various ways. No matter you wanna get a wavy look on your natural curly hair or on your human hair wig.
However, this article talks about the three easiest methods for creating natural-looking waves.
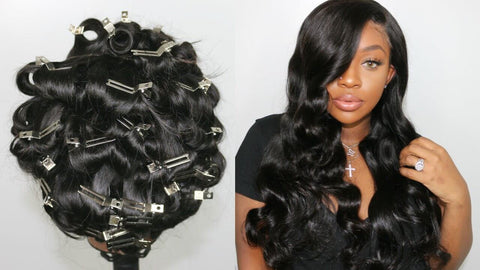
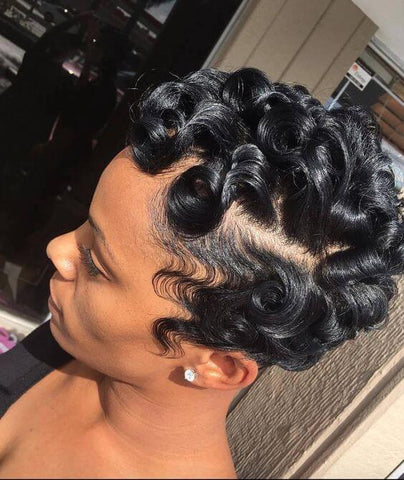
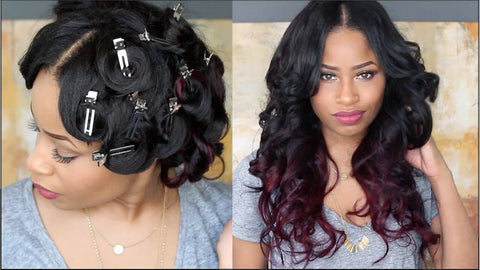
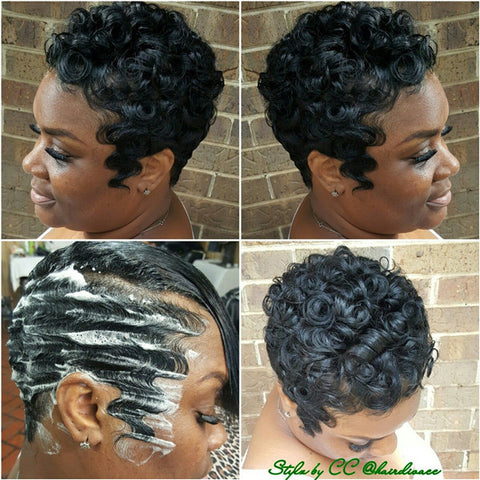
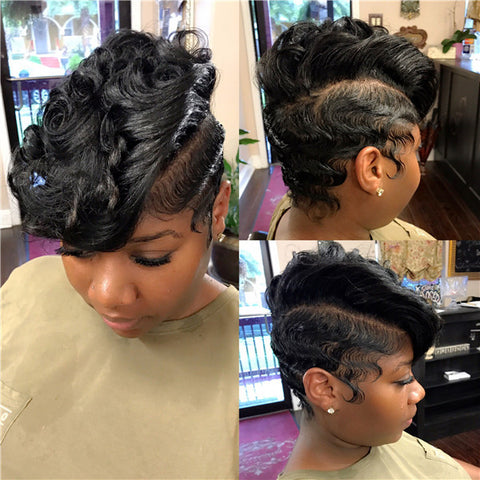
A. Creating Waves with Pin Curls
- Wet the hair or the wig and add the cream
Curls and waves were produced by wetting and setting hair before curling irons and straighteners were invented. Pin curls are a classic wet-setting technique. To start, use a spray bottle to dampen your tresses and apply a generous amount of mousse to your damp hair. If you have a straight lace front wig on hand, don't forget to spray some water which mix with organ oil to get it moisture and add the cream.
- Make the first pin curls by dividing your hair into two
In front of and above your right ear, make a one to two-inch vertical segment. Wrap the hair away from your face and use your fingers to create a loop in the section. Wind your hair towards your scalp until it hits the top of your head. Slide a duckbill clip up through the bottom of the curl, making sure the bottom part is against your scalp and the top is in the middle. The pieces don't have to be completely straight or even.
- Repeat this process
Continue to wrap the curl away from your face from the fitting crown to the nape of your neck. Switch to the front left once you've reached the middle back. Wrap each curl away from your face from above the left ear to the nape of your neck. If you get a high density wig with more hair, you need spend much more time to treat it.
- Style your hair after letting it dry and removing the clips
Enable your hair to dry after you've secured it in pin curls. Remove the duckbill clips until your hair is no longer wet when touched. To loosen curls and turn them into natural-looking waves, comb your fingers through your hair or the wig.
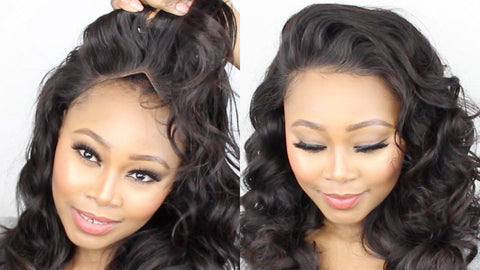
B. Creating Waves with a Straightener
- Get your hair ready.
It is essential to prepare your hair before applying heat to it correctly.
- After you wash your hair, dry it with a blow dryer or let it air dry.
- To get rid of extra oil, add dry shampoo to your hair instead of washing it.
- Mist your hair lightly with hairspray.
- Curl your hair with a flat iron.
Enable your flat iron to preheat on a medium setting. When it's over, catch a one- to a one-and-a-half-inch vertical segment on the right side of your face. Turn the flat iron 180 degrees away from your face and position it near your scalp. Pull the flat iron down the shaft straight to the top. If necessary, repeat the process. BTW, all 100% human hair wigs can take that heat. So just go ahead.
- Curl the remainder of your hair.
Work your way backward from the front right to the back middle of your head. Switch to the front left after you've curled the right half of your hair. Curl the left half of your hair from the front left to the center back in one to one and a half-inch sections. Lastly, place the straightener away from your face by 180 degrees.
- Style your hair.
Ensure that you wait for your curls to cool before spraying them with hairspray. Shake your hair and comb through your tresses to break the texture and turn them into waves. Apply a finishing gel to your hair and, if necessary, more hair spray.

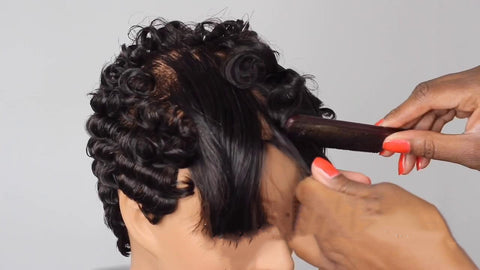
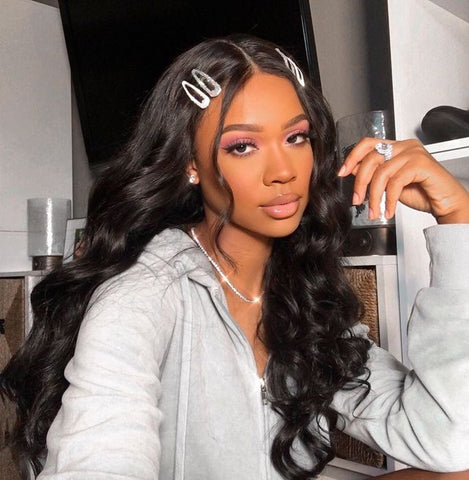
C. Creating Waves with a Curling Iron
- Prepare your hair.
It's crucial to properly prepare your hair before using a curling iron to create complete, natural waves. Apply a mild misting of heat protectant spray to your hair or your hd lace wig after washing and blow-drying it. Spray the wig with hair spray to make it easier to keep the curl.
- Select the right curling iron and heat setting.
When you use a curling iron to create natural-looking waves, use a curling wand—a curling iron without a clip. The barrel of your heated tool should be half an inch to one inch in diameter. Make sure your curling iron is set to the right temperature for your hairstyle.
- If your hair is fine or damaged, keep the temperature of your curling iron below 200°F.
- Curl your hair between 200°F and 300°F whether you have curly or thick hair.
- Divide your hair into sections.
It would be easier to handle your hair if you divide it into bits. Divide the hair into layers with a comb.
- Divide your hair into two layers if your hair is fine and thin.
- Divide your hair into three or four layers if your hair is thicker.
- Curl the hair wig.
Place the top layers on top of the bottom layer and secure them in place. Begin by grabbing a half-inch to one-inch section of hair from the front right. Wrap the rod around your hair and pull it away from your ears. Allow ten to fifteen seconds for the curl to rest on the rod, then it out and place your hair on the palm of your hand. Spray your curls, then let go of your hair. Repeat this procedure until all of your hair is twisted.
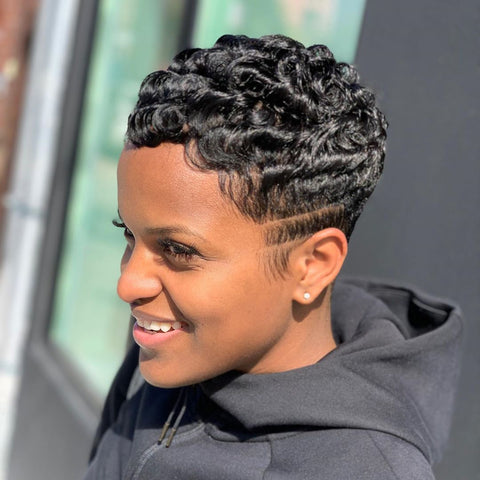
- Brush the hair or the wig and spray with hairspray.
To transform your curls into natural-looking waves, loosen them after curling your hair. Brush your hair from the roots to the tips with care. Using hairspray, spritz the waves.
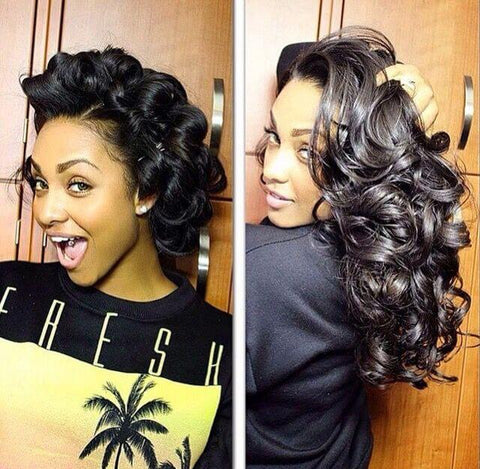
These are some cute perfect wavy look share to you.
- Creating Waves with Pin Curls
- Creating Waves with a Straightener
- Creating Waves with a Curling Iron
Hope this blog can help you when you looking for some help to do a natural wave look on your hair.